# 1. Getting started
# Introduction
In this guide we will go through the setup of a professional RTLOC positioning system. You will learn the basics of the system and get familiar with some of the features. You will end up having a fully functional RTLS system and you can start tracking your first objects.
# Set up the software
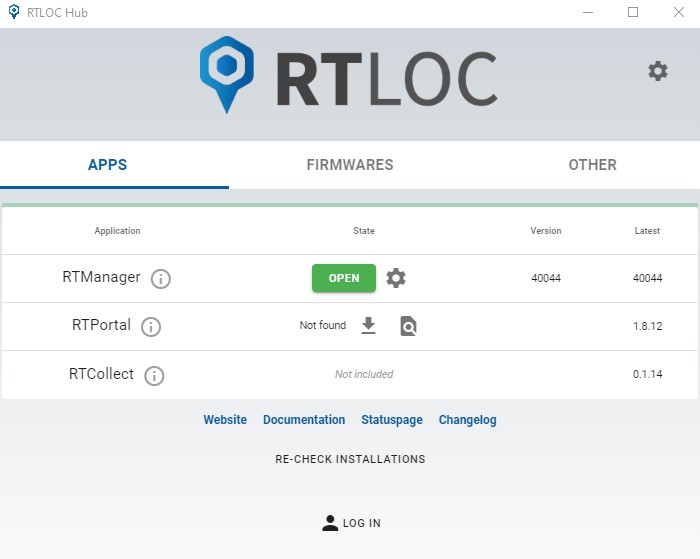
A convenient way to manage our tools is the Desktop app. You can get it at https://app.rtloc.com/download (opens new window). (Currently Windows only, requires some space on the C drive)
For full use of our software, you will need to log in using your account. You should've received an invitation from RTLOC when your license was created. You can add team members in the app.
You will need to download your desktop license, from the account view of the Desktop app. License download instructions
# Hardware requirements
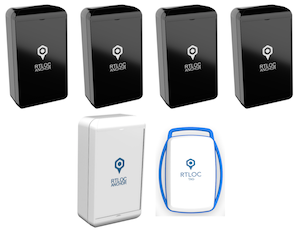
Before you get started, make sure you have at least the following hardware:
# Positioning devices
You will - at a very minimum - need:
- 4 Anchors
- 1 Listener
- 1 Tag
TIP
NOTE: If you have bought the Professional RTLS Kit, everything will be included to get started.
TIP
Without any hardware, you can still use the software to play replays.
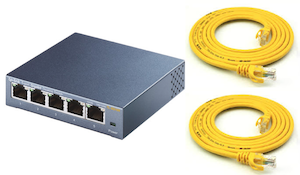
# Networking equipment
- 1 Switch
- 2 Ethernet cables
# Power supplies
- 4 Micro usb cables (type B) and batteries or socket adapters
- PoE
# Other
A computer (desktop/laptop/tablet), preferably Windows OS

# Engine (cxRTLS) app configuration
Start the Engine (cxRTLS) app from the Desktop app or locate the executable and open it. The rest of the guide will assume that you have the necessary tags and anchors. Alternatively, you can run a replay (and receive that replay data over the API).
WARNING
The software will run in a limited demo-mode without proper license. Activate your license for full access.
# Device setup
# Update device firmware
A tag, anchor or listener might not have the most recent firmware. In that case you best update the firmware for the device by re-flashing it over USB.
# Power the devices
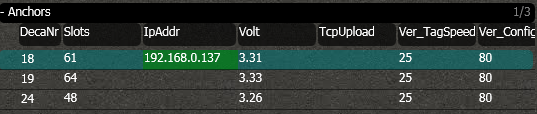
Once the boards are powered, you should see some lights blinking. There are a couple of patterns possible. If all is going well, you should see a green light blinking on all boards. In the software, the numbers in the column DecaNr should turn right. This means data of these nodes is received.
Place the anchors in a strategic way. Hang them around the area you want to track. Make sure they are placed so that they are not blocked by big objects (especially metal). You can find some more hints on how to hang the anchors here.
# Software setup
First we will make sure the listener (or dual anchor) is properly initiated. Go the the screen 'Config' in which you will see the Listener Module. All the connected listeners are listed here. It will show you to which IP address it is sending its data (this can be unicast, multicast or broadcast), together with the port.
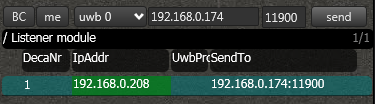
Make sure you see the IP-address of your PC in the column SendTo, and the IP-address of the listener is colored green.
# Anchors & Tags
Now let's setup the anchors and the tags. You should see the anchor that is connected to the ethernet appear in the Anchor list.
By pressing AutoSetup, the system will automatically be set up and you won't have to bother about the details. Wait for about 15 seconds after pressing the button. You will see the green IP turn red for a short moment. All the anchors & tags that are powered on will start to appear in the list.

# Floorplan
Now let's try visualizing the data. Open the 'Floor' view from the menu.
# Anchor Coordinates
Before we can track the tags, we need to know where the anchors are. You can calculate their (relative) positions automatically by pressing AutoPos. After a short while, you will see the anchors move to their position and you are ready to calculate your first tag positions. Find more information on the anchor coordinates here.
# Engine
Make sure that the internal engine is switched on. You can find the engine menu in the Action Bar. Whenever the engine is running, the engine menu button looks like this:

Whenever it is switched of, it will looks like this:

Click on it to open the menu:

Unselect "Skip Engine" to activate the engine.
Walk around with your tag and check that the tag is actually moving on the screen.
# What's next?
You have just set up a basic RTLS system, congratulations! Now there are several things you can do.
For viewer configuration and additional processing options (e.g. zone detection), check out the following guide:
- Step 2: Viewing and processing configuration
For expansion of the system (more anchors/tags) or better calibration, check out the following items:
- Setup finetuning
- Follow our system guide
- Integrating with our API